So, I’ve decided to conquer the yardbird. It seems I tend to tackle certain foods or techniques every season. Three was the season of shortribs and braising (and waist expansion). The season of learning how to master my smoker. The season of soups. The season of the barbecue. I really tend to avoid chicken. It is just so much work. And I usually love the skin or sauce more than the actual chicken. But I’ve decided I will conquer that yardbird (Yaahdburhd if you’re into the correct southern pronunciation)! To get going, but not ruin my day, I decided to start where the chicken started…the egg. Don’t worry, I’ll move on to the whole chicken later, but we’re starting with something I already love. Now that we know why we’re tackling this egg, why cure it? Salt. Fat. Umami. Fun. Need I say more? And hey, if the Zombie Apocalypse hits, you’ll still be able to eat like a king!
Don’t go thinking I’m some kind of culinary genius. Salted, cured egg yolks have existed for a long time in the form of Bottarga. Bottarga is salt cured fish roe sacs. Don’t worry a bit, with shad roe season starting here, we’ll be making some of that too! I digress. Salted hen yolks have a slightly salty, fatty, magical flavor. They’re quick and easy to make and can totally transform pasta, salads, and soup. Just use a fine grater or micro planer to give your dishes a little dusting. I’m practically drooling thinking of a yukon gratin with sage and a little dusting of cured egg yolk.
To kick off your cured egg yolk addiction:
- 1 container, about 2 inches high, 8 inches long, and 6 inches wide
- 2 cups of Kosher salt
- 2 cups of sugar
- 4 egg yolks (freeze the whites in ice cube trays for later use, make a little Angel food cake, or make some cloud bread)
Thoroughly mix your salt and sugar and place a decent layer in the bottom of your container. Make four little nests in your mixture with the back of a spoon. Separate the whites and yolks. Place each yolk in its nest.
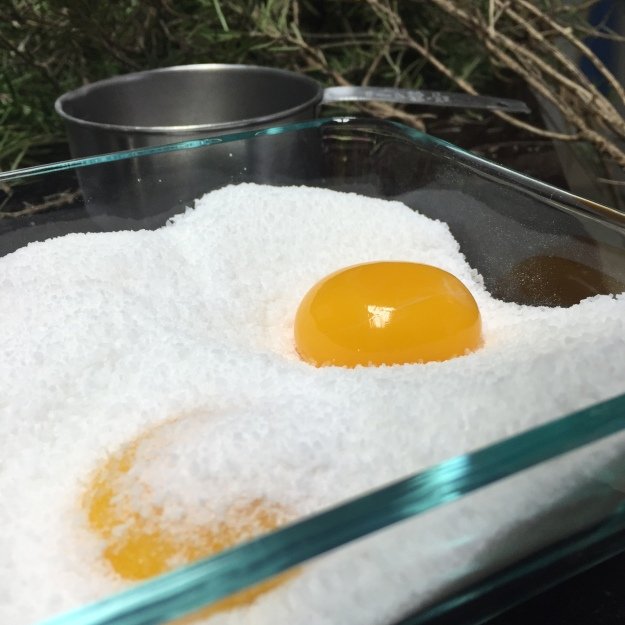
Just look at that little golden globe of goodness!
Gently cover with the rest of the salt-sugar mixture. Place your lid and tuck into your fridge. Let sit for 1 week. After the week has passed, gently remove the yolks from your mixture. They will be slightly translucent and the firmness of a dried apricot.
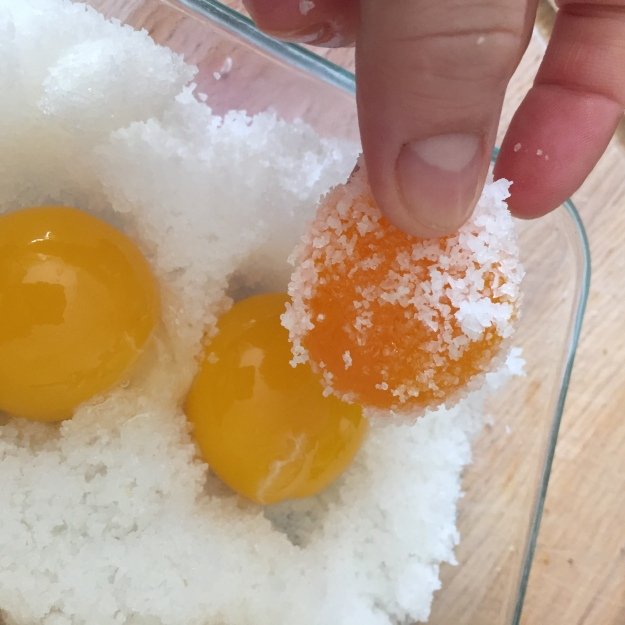
You can see the difference between fresh egg yolks going down for a little salt slumber and those that I’ve just dug out of their cozy cocoon.
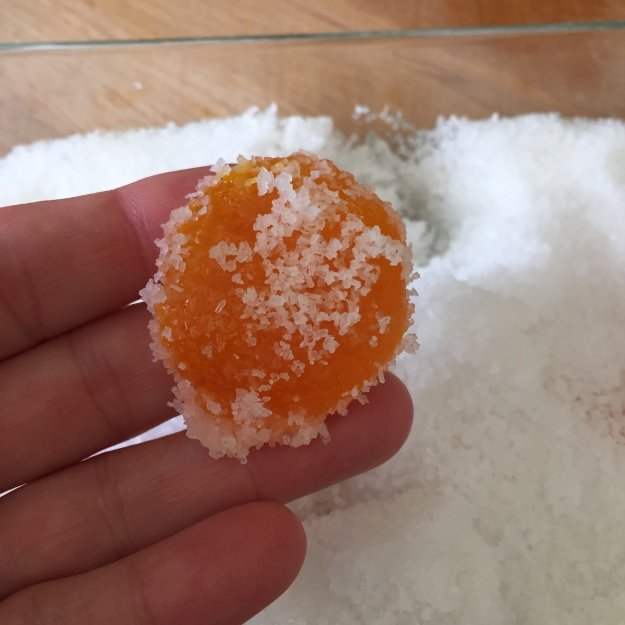
These little gems are like adult salty jelly beans!
Rinse in cold water and pat dry with paper towels.
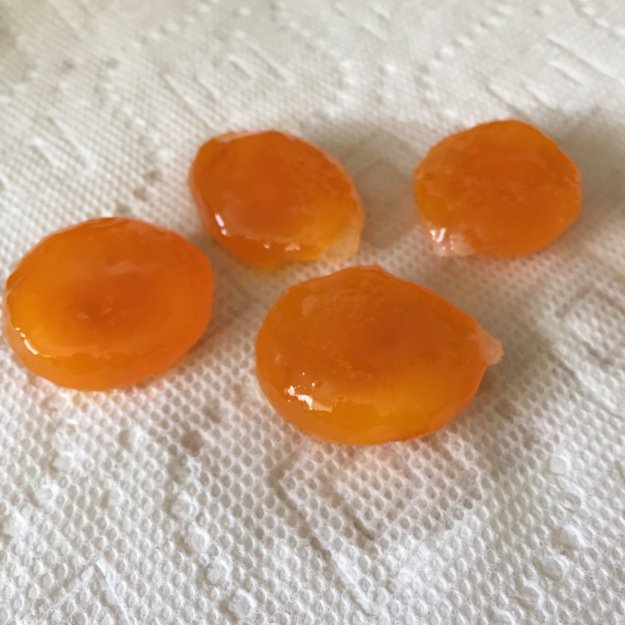
Don’t be afraid of the cold water rinse. It’ll get rid of excess salt and the yolks won’t melt.
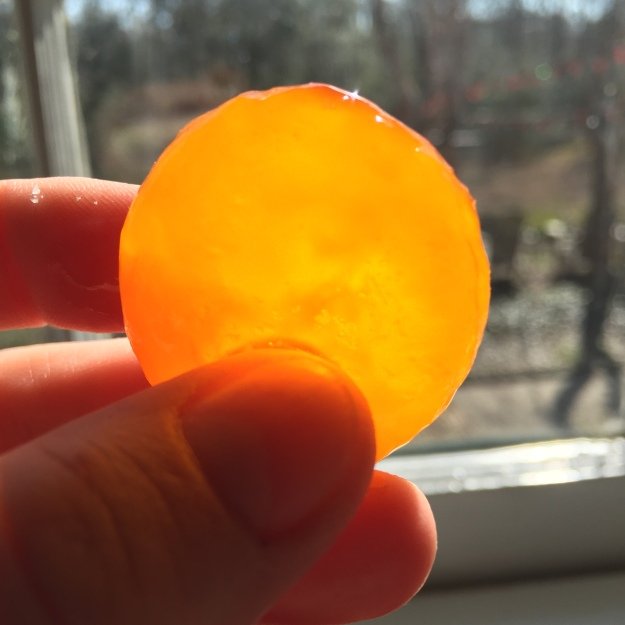
Good morning sunshine!
Place in a dehydrator set at 145 degrees. Dehydrate for 3 hours or until firm.The yolks will continue to firm up as they cool. Grate, grate, grate away! They’ll last a month in a sealed container in the fridge, but I guarantee they won’t stick around that long!
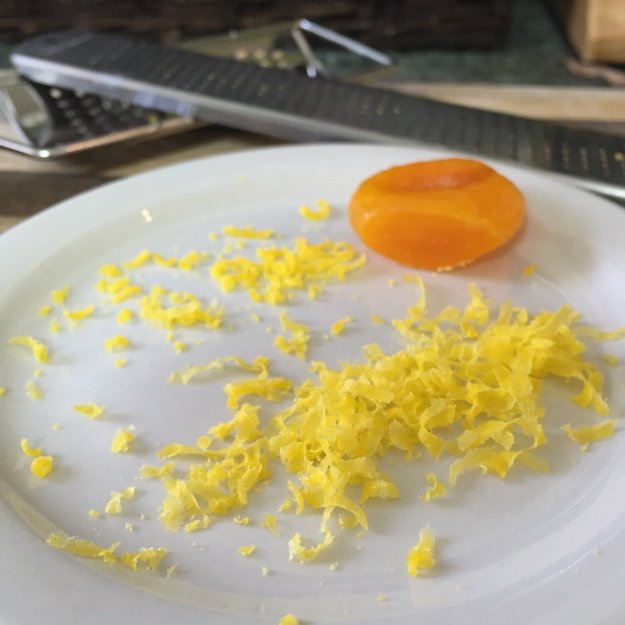
Serious goodness. I prefer the uber thin tendrils produced by a micro planer, but the slightly more dense shavings produced by a grater work well too and may stand up to robust dishes a little better. Either way, just get that goodness on there!