Mung bean sprouts ready for teaming up with Pho (head over to LovingPho.com to fuel your Pho obsession->look at their perfect sprouts!).
I have an addiction to Pho soup. And a good stir fry. A big part of that obsession is the addition of nutty, crunchy mung bean sprouts. They add a cool crunch to Pho and texture to stir fry. Not to mention flavor to salads and sandwiches. On many, many (many!) occasions I’ve scored a few handfuls from the market only to find them slimy and wilted a day or two later. Sad face.
All sorts of sprouts are full of nutrition. Some grains, when sprouted, lose the substances that cause reactions for some people. Some may tolerate ‘bread’ made from sprouted wheat and some tolerate the sprouts of wheat, or wheat grass, but do not tolerate wheat itself. Whether for nutrition, taste, or avoiding food reactions, sprouts are worth checking out. Thankfully the are cheap and super easy to germinate with a few simple steps. With the ease of this method, you can have mung sprouts around non-stop!
Mung Bean Sprouts
- Dried mung beans (may be found in supermarket specialty sections, Asian markets, or ordered online)
- Colander or bamboo steamer
- Damp paper towels
First, the volume of dried bean generally equates to (3) times the amount of beans. For example, 0.5 cup or so of beans will produce about 1.5 cups of sprouts. Once you get the hang of sprouting beans and how quickly you use them you can start a batch every couple of days to keep yourself in a good supply. Second, rinse your beans. Rinse again. Keep rinsing until the water is clear. Mung beans, like all dried beans, are subject to dust and debris. Now, down to business.
After rinsing your beans well, place them in a bowl and cover by a couple of inches with cool water. The beans will double in size, so plan your bowl size accordingly. Allow the beans to soak for 8-12 hours. After soaking, drain the beans, and rinse again with cool water.
Now, grab your colander. Take two sheets of paper towel, folded against one another, and dampen (dampening under the faucet and squeezing excess water out works well). Lay one bunch of damp towel in the bottom of the colander or steamer and smooth it out. Spread a single layer of soaked beans on top of the paper towel. Cover this with another pair of damp paper towels, smooth, and spread another single layer of beans. Repeat until you run out of beans. Place a pair of damp paper towels on top of the last layer of beans so they don’t dry out. Place a loose-fitting plate or lid over the top of the last layer to add a little weight but still allow a little airflow. I’ve found a little weight helps to grow a thicker shoot. You can leave your little bundle on the counter or place it in a cold oven to get it out of the way (just don’t forget about it!).
Aaaaaand now you wait. After about a day, you will have tiny sprouts.
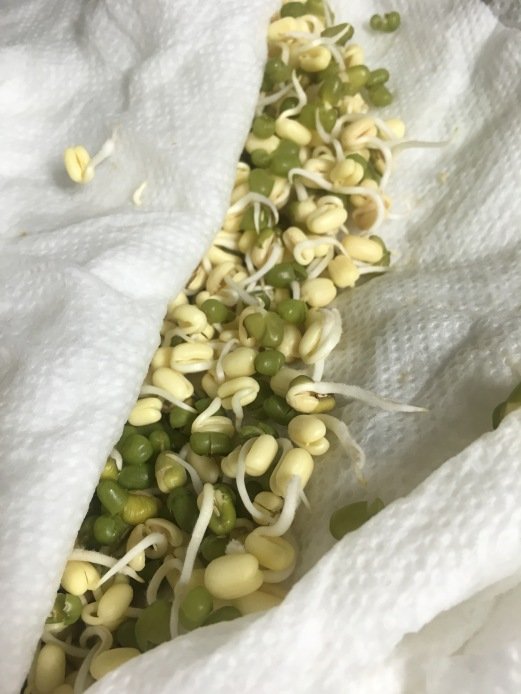
Look at those little guys! They taste good, and a little more sweet, at this stage.
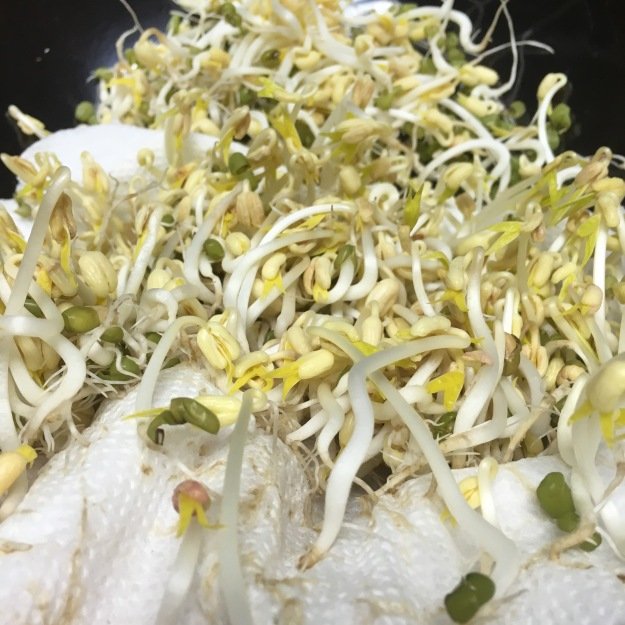
After day two, when the sprouts really get going, place a heavy object on top of your bundle. I tend to use a saute pan. Again, this encourages a thick shoot. Continue to check daily for growth and water needs. Assure your paper towels are damp. My paper towels tend to stay damp for 4 days however, if yours should feel dry use a kitchen sink sprayer or water bottle to spray the edges of the paper towels, allowing the water to seep inward and dampen the interior. I try to avoid getting water on the top of the growing sprouts so as to avoid mold or other growth problems. After 3-4 days you’ll have 2-3 inch, thick sprouts!
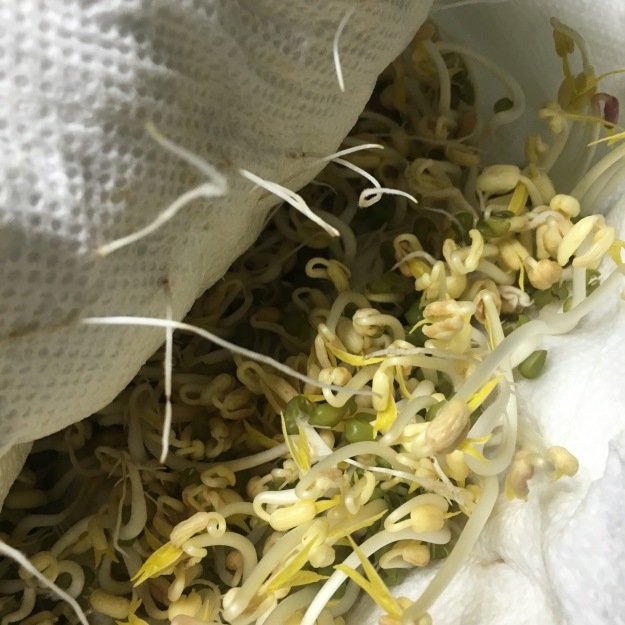
They shoots are ready! You can see the roots growing through the paper towels, almost all beans are sprouted, and the sprouts have reached a good thickness. They are less sweet at this stage and taste nutty.
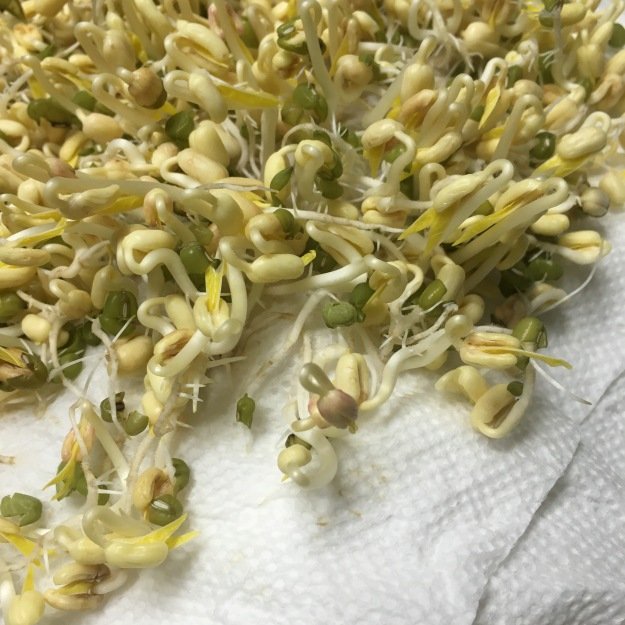
These guys are ready to go!
Simply peep the sprouts off of the paper towels and into a bowl for removing the hulls and soaking. You can use tea towels or bar towels instead of paper towels, just know they will be discolored and you have to spend a little more time cleaning roots out of the towels prior to washing and re-using.
When your sprouts have reached your desired size, peel them away from the paper towels and place in a bowlful of cool water. Gently agitate the sprouts to remove bean hulls. Some hulls will float to the top where you may skim them off while other sink to the bottom. You can easily avoid those by taking care when removing the sprouts from the water.

Soaking the sprouts to remove the green hulls. Some float to the top and can be skimmed off.
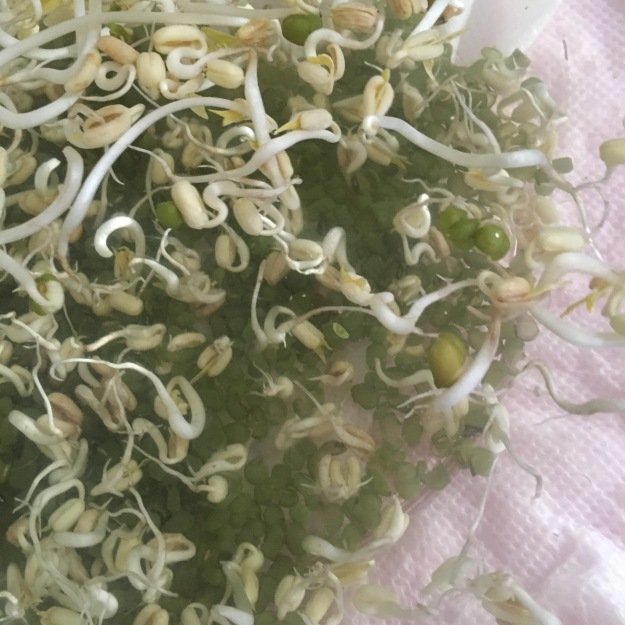
After skimming off the hulls that float, you’ll find some sink to the bottom. Just use care when removing the sprouts and you can leave the hulls behind in the bowl.
Once you’ve removed the hulls, soak the sprouts once more in cool water for about five minutes to assure they are well hydrated and plump.
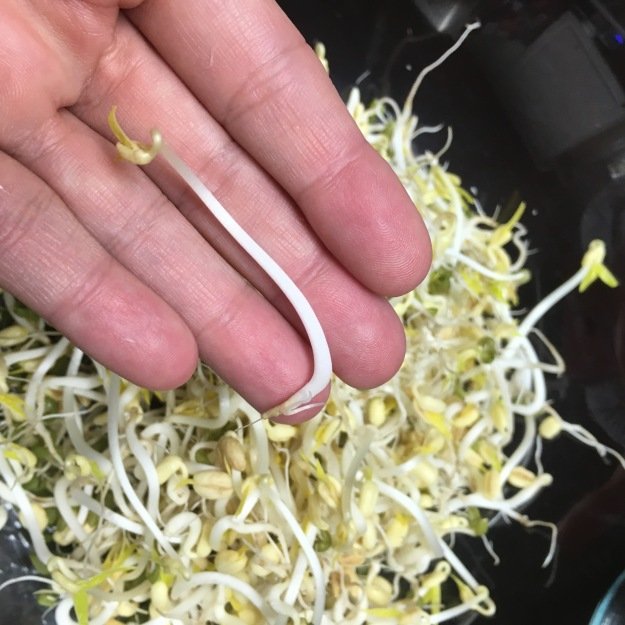
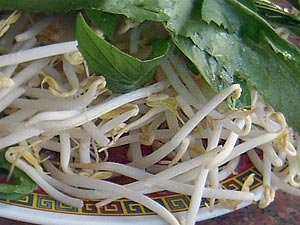
Hydrated, plump, thick bean sprouts. So tasty! Be aware that you will likely not produce the gigantic sprouts your may find in markets-often those are the result of being grown with chemicals and gases. Homegrown is the way to go!
Drain your sprouts well. Spread your sprouts in a single layer on towels and allow to air dry a bit. Store in the refrigerator in a large Ziploc bag with a paper towel or two in the bottom to absorb moisture (change the towel when it becomes more than damp). They will keep for 3 to 5 days. Enjoy in soup, stir fry, on salad, or as an addition to sandwiches.
I find this method so much easier than trying to get big sprouts in a jar. It’s easy to keep a batch of some sort of sprout going. Once you get used to containers lying about in your kitchen, you might find you even venture into growing your own microgreens , brewing kombucha, or fermenting tasty snacks!
Head straight to LovingPho.com for tips on using your bean sprouts in Pho and all you need to know about Pho!