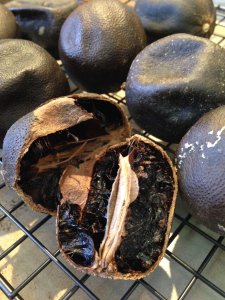
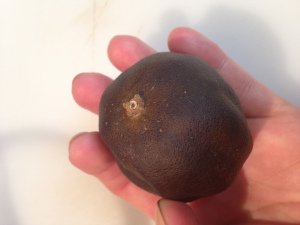
‘What is a Black Lime’, you say? On one hand it’s simply a dusty, blackish-brown, dehydrated whole lime common in Middle Eastern cuisine. On the other hand, it’s 100% magic. Yup. Magic. I frankly don’t even remember where I heard about dried limes, but I can tell you when I first tasted their magical goodness: Okra and chicken liver stew. I stopped by a restaurant near work one Friday night after a loooong day at work, figuring I’d just go ahead and get dinner, a glass of wine, and kill some time while traffic died down. There were so many normal things about that stew—the familiar little carrot squares, peas, corn kernels. Okra, of course. Perfectly cooked chicken livers (no sawdust or rubber to be found) and a tomato broth equipped with those little sparkling dots of fatty goodness. But then there was some kind of tangy, fresh goodness. By all accounts, a stew that most likely started off with rendering some bacon fat should’ve sat a bit heavier, but it didn’t. It was so good I had it again later that weekend! I didn’t know then what the magical goodness in that stew was, but the first time I cooked with dried limes I was immediately brought back to that stew. Dried limes. I’m 100% sure. I’ve been tempted to ask the Chef since I see him in the mornings unloading the truck from the market or feeding a little stray cat that hangs around, but I figure accosting him about the nuances of his cuisine might seem a bit whacko.
Back to the limes. Trust me on this. Either buy yourself a bag online or make your own. This is a great project for the winter since you’ll have your oven on low for a day or two. The flavor is bright and citrusy while also being earthy and grounding. They go well with heavier meats such as lamb and beef and also pair well with lighter soups and stews. They can be used whole or ground up. You’ll be hooked from the first bite!
Dried, or Black, Limes
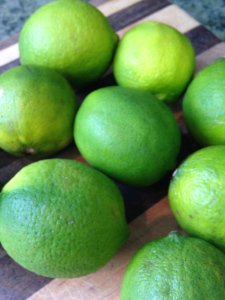
- Limes (go ahead and do a bunch while you’re at it!)
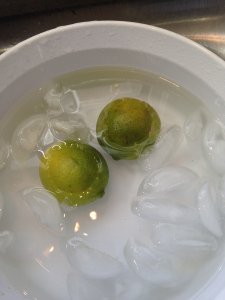
Blanch your limes in small batches and be sure to cool completely in the ice bath.
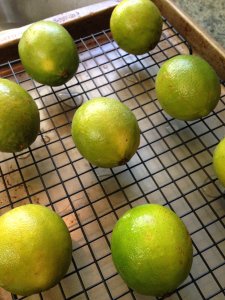
Dry. Place the limes on a baking rack set on a baking sheet.
Place your limes in a 150-200 degree oven (depending on how low your oven goes-mine was 170 degrees). If the limes will fit in a dehydrator you have, even better (mine where a bit too big)! Let them rip, turning a couple of times a day, until completely dry.

About a day in the limes begin to appear dry and change color. The oven mimics the drying effects of the traditional method of drying the limes in the sun.
When done, they will be slightly bigger than a ping-pong ball and feel light and hollow.
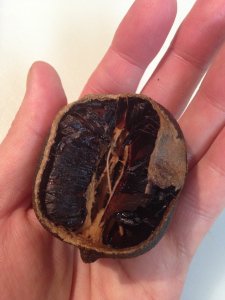
If you’re not sure if they’re done, crack one open and you’ll find dark flesh that’s dry and flaky.
Mine took about 2 days. The time to be dry will depend on the amount of juice in your limes. Be patient, they’re worth it! As a note, I did take mine out of the oven a couple of time to cook, then just let the oven cool a bit and popped them back in at 170 degrees. They tuned out perfectly.

Try dried limes in your next stew, soup, or sauce. Use them whole or grind them up. You’ll be looking for excuses to use them, I promise!
