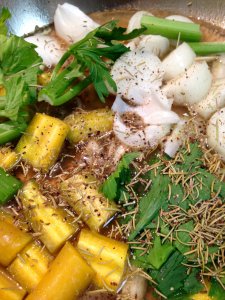
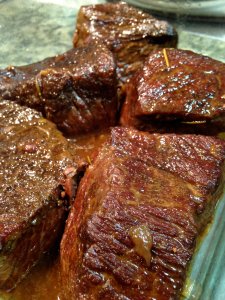
Where’s the food, you say??? So, this isn’t so much a post about delicious, mouth-watering food as it is about keeping all that booty you scored at the grocery store and farmer’s market fresh. The Hubbs goes ba-na-nas if food goes bad in the fridge. It’s like a visceral Tasmanian Devil sort of bananas. Seriously, it’s best to avoid it-so over the years we’ve found ways to make the goods last and last. And I’m here to share that with you, and possibly save you a nasty divorce.
1. Go to the store with a list. I’ll admit, this is my biggest weakness. I’m like a kid in a candy store. My brain screams, “Buy all the food!”. It’s taken a whole lotta work to pare down my addiction to food shopping. It’s worth it to not waste your money and spare yourself the ‘Kids are starving in ______ ” speech. Do it. Try out Not Quite Suzie Homemaker’s free printable list.
2. Bring home your bounty and wash and dry it. I use Fit vegetable wash due to its natural, non-chemical formula. Fill up one side of your sink with cold water and add a capful. Soak veggies for a few minutes, agitating every so often. Rinse well and let dry. IF you can’t buy all organic, use rubber gloves when submerging hands as most of the stuff coming off of those veggies is now in the water. Change periodically if you’ve got a lot to do. Greens and mushrooms don’t do well with this, so be sure to buy organic.
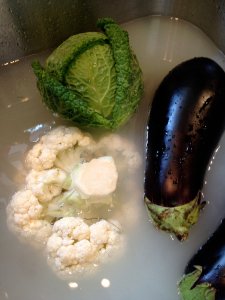
Getting the goods clean. Vegetable washes can remove pesticides, dirt, and waxes if you can’t buy organic (Although make every effort to!)
3. Make use of your dishwasher. No, I’m not suggesting to WASH your veggies in there. An empty dishwasher is the perfect place to air dry your goods, leaving you counter space and sparing you from hand drying every little tomato.
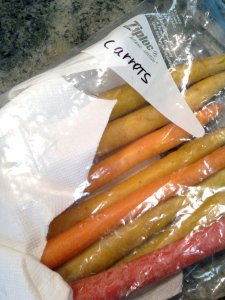
4. Package appropriately. After drying, package your goods well. I have found that ziplocs with paper towel inserts keep condensate at a minimum and help things last A LOT longer. Seriously, I’ve had carrots and celery in my fridge for weeks and they look fantastic! It does seem that mushrooms like a bit of air, so I layer those with paper towels and cover the top with a paper towel, but don’t place a lid. Greens in plastic containers do much better layered with paper towels as well. Replace paper towels when they become wet.
5. Freeze leftovers. We’ve all done it-you craved something, made a vat, then tire of eating it. Use vacuum ziplocs, sealing vacuum bags, freezer paper, and canning jars to reduce air contact and freeze for later use. This will take some experimenting to see which of your recipes freezes best. In my experience, dairy, eggs, mayo, and fish don’t freeze well. Try processing garden herbs with oil and freezing in ice cube trays or freezing leftover tomato paste in tablespoon portions and placing in baggies for later use. You can do this with stock too. Date everything.
6. Portion meat. Portion big meat buys in smaller packages by wrapping in freezer paper, labeling and dating with a sharpie, and placing in a vaccuum ziploc. You can see what it is, it doesn’t get freezer burnt, and if you pull it out of the bag to thaw, you can reuse the bag (keep them in the freezer) since no juice has touched it. The vaccuum ziplocs work especially well for things you’re going to be in and out of a lot (singly packages sausages, 2 strips of bacon, etc.).
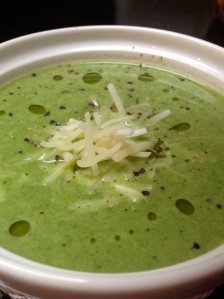
7. Make soup. Should all this fail and you’re left with some veggies that are verging on going bad…make soup! Trust me, you can make soup out of just about everything. Also use leftover bones for stock. Freeze in one or two cup portions for later use.
8. Render fat. Have fat you’ve trimmed off? Render it to get some super tasty oils to cook with later. Think beef tallow, chicken fat, duck fat. Make sure your meat is properly sourced so you’re not getting hormones and pesticides with that!
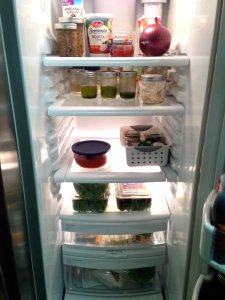
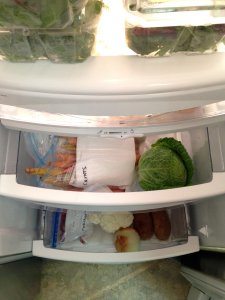
9. Organize! The top shelf of our fridge is the ‘eat now’ and dairy area, the second shelf is the fat/oils area, gel bouillon and herbs are in a basket, cheese, butter, and guac are in the snack bin, and veggies are tucked away in crispers, in bags, and labeled. There’s never any doubt as to where things are. This is helpful for the ones in your family who always exclaim ‘there’s nothing to eat!”. It’s also put a stop to our shouting ‘ya just gotta move stuff!”.
10. Invest in tools. You may not want to spend money on cooking tools…but seriously, they give you the creativity and efficiency to do all kinds of things with your goods so you don’t get bored of the same ol’ thing and let that produce or meat laze around and go bad. I couldn’t cook without a good food processor, blender, wand blender, cheesecloth/butter muslin, ball jars, temp probes, smoker, grill, and bouillon strainer. Knives and pots/pans don’t cut it if you’re trying to get the most out of what you’ve paid for.
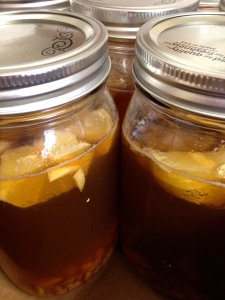
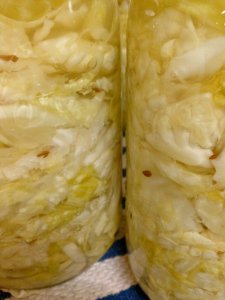
11. Learn to can and ferment. People have been preserving food by canning and fermenting for thousands of years at minimum. Not only can you make some tasty, tasty stuff you prevent waste. Check out Wild Fermentation for tips on how to get started. Sauerkraut, Kimchi, pickles, yogurt, cheese, vinegar, and kombucha are great examples of fermenting. Bacon or onion jam? Yes, please.
12. Compost. Scraps, peelings, egg shells, etc. can be composted since they can’t be used in any other way. They’re great for the garden (yes, even if it’s not a vegetable garden). Bonus? It reduces bags of trash going to a landfill. Check out How to Compost for tips.
13. Eat the food you’ve prepared. This seems like a no-brainer. However, we often go through the trouble of making great meals only to wake up too late to pack them or to stop by The China Gourmet on the way home from work. Pack you r lunch the night before, plan a bit so meals are easy when you get home. This isn’t just about not wasting food, it’s about steering clear of things you don’t want in your body in the first place. No one should eat potted meat. Except maybe my buddy Shane. And I’d swear he has the genetics for it. Or the preservatives have made him tougher.
With these few simple steps you’ll waste less and eat more. Win! Win!
